
Building a status page is one of those tasks which seems to forever linger on the to-do list of so many small organizations (and some large too). Despite paid services such as status.io and statuspage.io both offering plans starting at $29/mo (which admittedly most would consider reasonable), there are many who, for a variety of reasons, can't justify this cost. Personally I think both status.io and statuspage.io are great, however, their entry plans have always felt a little anaemic in the value for money dept. for my tastes.
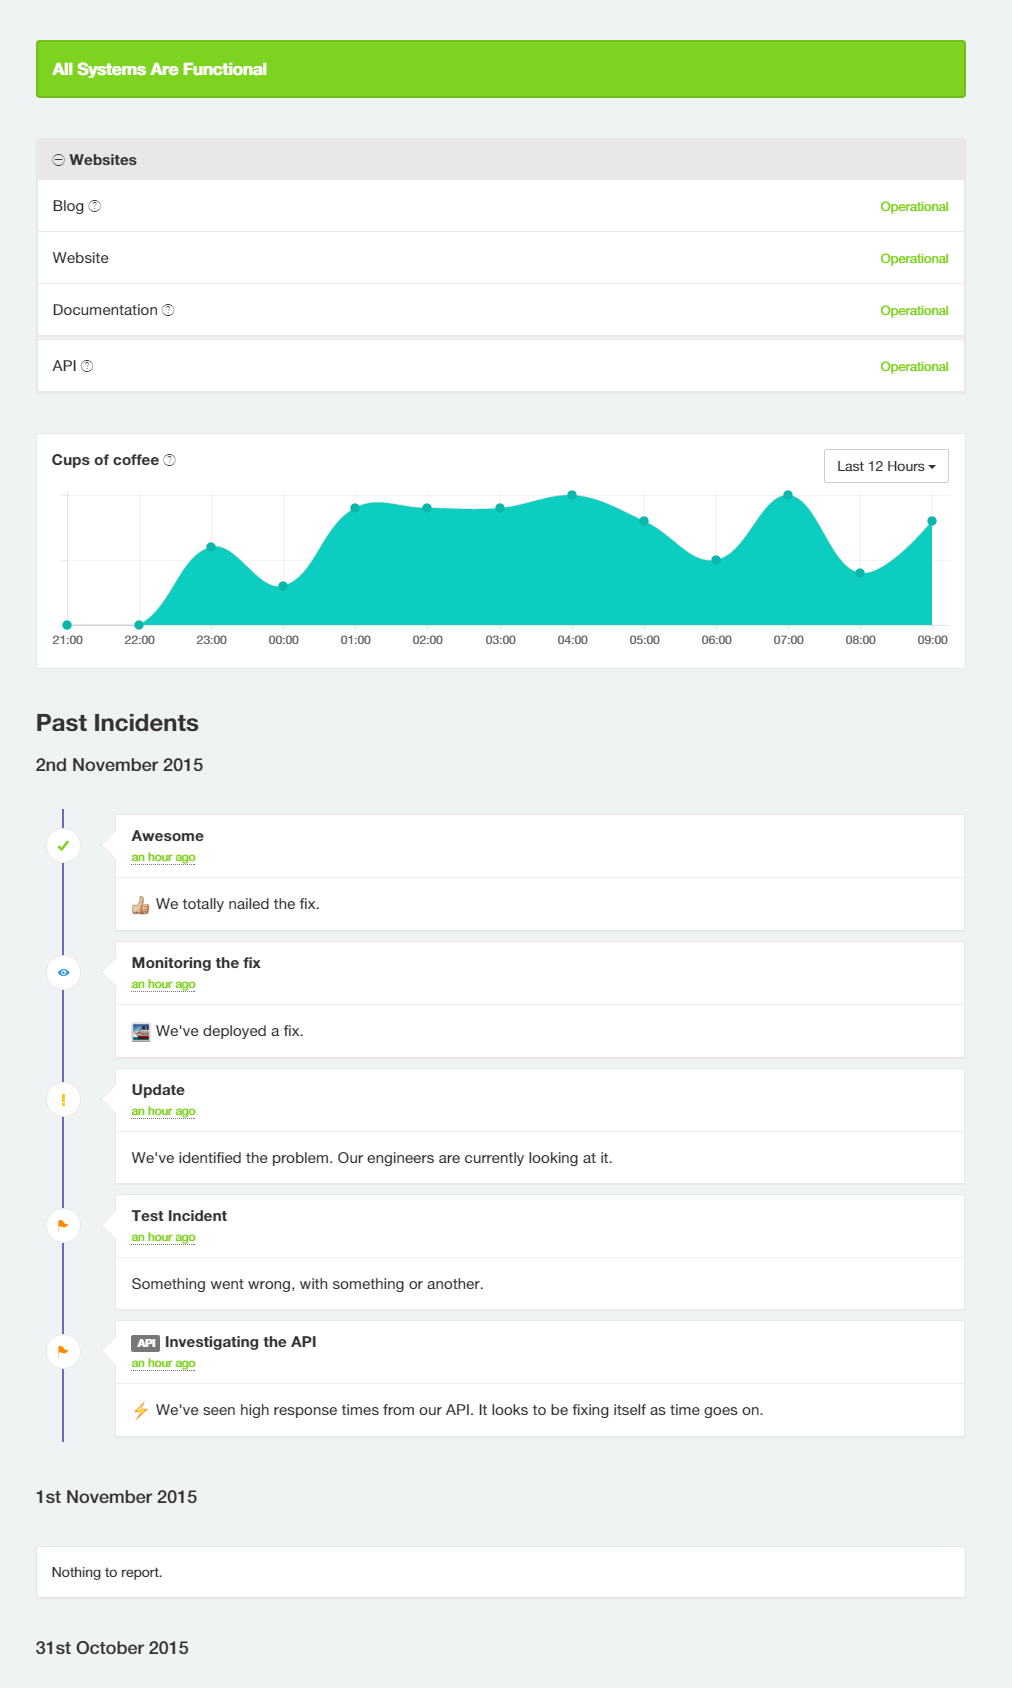
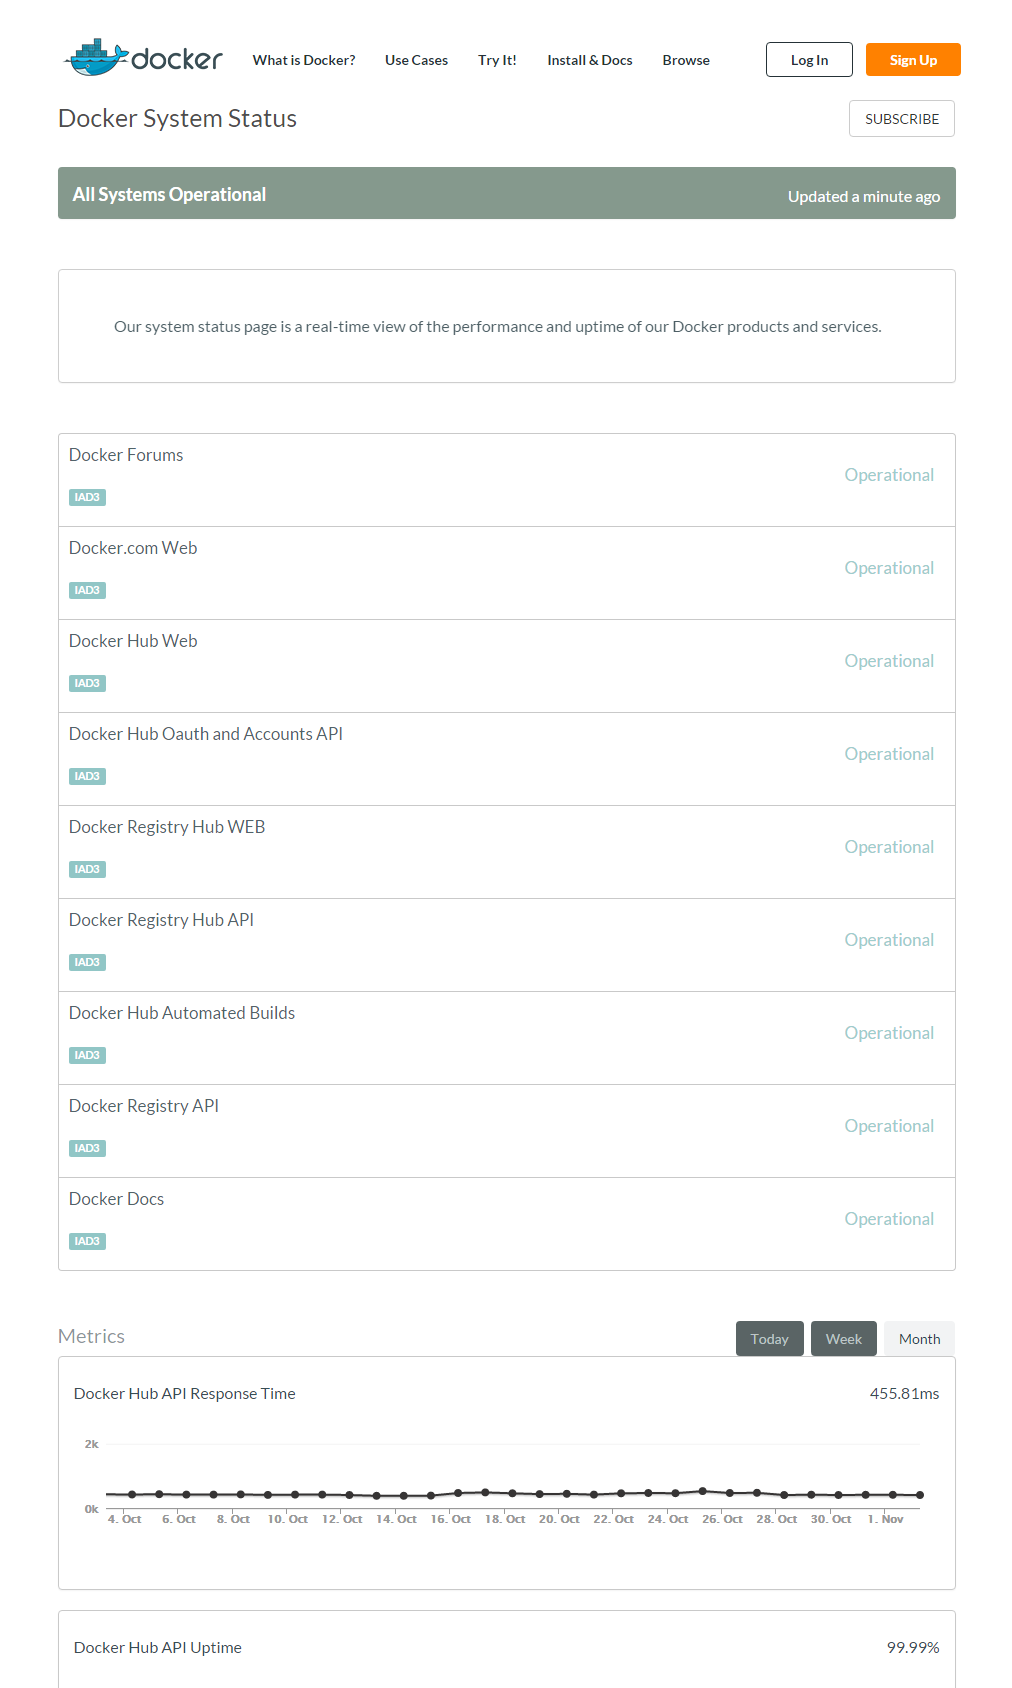
Enter Cachet. An opensource self-hosted alternative status page application. They say 'imitation is the sincerest form of flattery'. Well it seems the Cachet developer(s) took this to heart. Cachet has a similar look and feel to its commercial counterparts, and incorporates many of their features too. Just shy of a year old it has made encouraging progress during this time, thanks in large part to its passionate and active development team.
| Cachet | Status.io | Statuspage.io |
 |
 |
 |
So what does Cachet offer?
- JSON API
- Metrics system, for graphing (e.g. website response times)
- Multiple user support
- Subscriber email notifications
- Two-factor authentication, with Google Authenticator
- Pretty, customizable (CSS), responsive Bootstrap 3 design
- Translated into eleven languages
- Cross-database support: MySQL, MariaDB, PostgreSQL and SQLite
A quick feature comparison:
| Cachet | Staytus | Status.io* | StatusPage.io* | |
| Open Source | Yes | Yes | No | No |
| Subscribers | Unlimited | Unlimited | 300 | 250 |
| Team Members | Unlimited | Unlimited | 3 | 2 |
| Metrics | Unlimited | Unlimited | 3 | 2 |
| API | Yes | Yes | Yes | Yes |
| Notifications / Intergrations |
Email, RSS | Email, RSS, SMS, Webhook, Twitter, IRC, Slack, HipChat, iCalendar |
Email, SMS, Webhook, HipChat, Slack, Campfire, Sqwiggle |
*Entry level plan @ $29/mo
Keep in mind that status.io and statuspage.io both offer extra features not listed in the table above, as well as providing their services on high availability, redundant and scalable infrastructure (across all price plans). So deploying Cachet may not meet everyone's requirements (just yet!).
However, I have no doubt (or high hopes at least) that Cachets feature list will continue to grow, eventually matching those of its commercial competitors.
Carina
You may not have heard of Carina yet since they literally launched a week ago.
Carina is basically a Docker & Docker Swarm container environment aimed at developers. It's currently in an open free beta, and so makes for an ideal platform on which to test/trial applications such as Cachet. Rackspace (the providers of Carina) have also indicated that there will be a free tier available even when they do start charging for the service.
Deploy Cachet on Carina
Setup your Carina Account & Cluster
First of all, if you haven't already, sign up for a free account with Carina.
Follow the Create Your Cluster & Connect to Your Cluster sections in the Getting Started on Carina guide.
Deploy a Database Container
Once you're connected to your Carina cluster, run a database container (you can either pass in environment variables for the DB, or mount a config with -v /my/database.php:/var/www/html/config/database.php):
$ export DB_USERNAME=cachet
$ export DB_PASSWORD=cachet
$ export DB_ROOT_PASSWORD=cachet
$ export DB_DATABASE=cachet
$ docker run --name mariadb -e MYSQL_USER=$DB_USERNAME -e MYSQL_PASSWORD=$DB_PASSWORD  -e MYSQL_ROOT_PASSWORD=$DB_ROOT_PASSWORD -e MYSQL_DATABASE=$DB_DATABASE -d mariadb:latest
Deploy the Cachet Container
You've got a few options available when deploying the Cachet container.
Option 1. Run Cachet (no SSL):
docker run -d --name cachet --link mariadb:mariadb -p 80:8000 -e DB_HOST=mariadb -e DB_DATABASE=$DB_DATABASE -e DB_USERNAME=$DB_USERNAME -e DB_PASSWORD=$DB_PASSWORD cachethq/cachet:latest
If you plan on running your Cachet deployment in production you'll need to ensure that you enable SSL. You can either install your certificates on a reverse-proxy or load balancer in front of your Cachet container or directly on the Cachet container itself via its Nginx configuration.
Option 2. Run Cachet (with SSL support/port binding):
docker run -d --name cachet --link mariadb:mariadb -p 80:8000 -p 443:8003 -e DB_HOST=mariadb -e DB_DATABASE=$DB_DATABASE -e DB_USERNAME=$DB_USERNAME -e DB_PASSWORD=$DB_PASSWORD cachethq/cachet:latest
The above command will map/bind the host port 443 to port 8003 on your Cachet container. Later we'll reconfigure nginx on the container to redirect HTTPS traffic to this port
Option 3. Run Cachet (with SSL support & mail credential settings)
You can also pass smtp mail credentials (if you have them) at the same time you run your Cachet container. e.g. mailgun or mandrill:
docker run -d --name cachet --link mariadb:mariadb -p 80:8000 -p 443:8003 -e DB_HOST=mariadb -e DB_DATABASE=$DB_DATABASE -e DB_USERNAME=$DB_USERNAME -e DB_PASSWORD=$DB_PASSWORD -e MAIL_HOST=smtp.mailgun.org -e MAIL_PORT=587 -e [email protected] -e MAIL_PASSWORD=secret -e [email protected] MAIL_NAME="Your Name" cachethq/cachet:latest
Initialize Database and set Security Key
Initialize the Database and set a Security Key if you haven't yet:
$ docker exec -i cachet php artisan migrate --force
$ docker exec -i cachet php artisan key:generate
$ docker exec -i cachet php artisan config:cache
You can optionally install predis to enable usage of the various Redis drivers:
$ docker exec -i cachet php composer.phar require predis/predis
Now go to http://<ipdockerisboundto>/setup and you'll be greeted with the setup page:

From here, the remainder of the setup is quite straight forward.
Cachet SSL Setup
If you chose to run your Cachet container using option 2 or 3 above, you can now configure nginx for SSL.
Save the following configuration to a local file e.g. default.conf
Don't forget to substitute in your own domain and certificate names where appropriate
server {
    # This port is mapped to port 80 on the host
    listen 8000;

    # Your domain name
    server_name your_domain_name.com;

    # Redirects http requests to https
    return 301 https://$server_name$request_uri;
}
server {
    # This port is mapped to port 443 on the host
    listen 8003 default; ## Listen for ipv4; this line is default and implied

    ssl on;
    ssl_certificate /etc/nginx/ssl/your_domain_name.crt;
    ssl_certificate_key /etc/nginx/ssl/your_domain_name.key;


    # Make site accessible from http://localhost/
    server_name your_domain_name.com;
    root /var/www/html/public;

    index index.html index.htm index.php;

    charset utf-8;

    location / {
        try_files $uri $uri/ /index.php?$query_string;
    }

    # Pass the PHP scripts to FastCGI server listening on 127.0.0.1:9000
    location ~ \.php$ {
        fastcgi_split_path_info ^(.+\.php)(/.+)$;
        include fastcgi_params;
        fastcgi_pass 127.0.0.1:9000;
        fastcgi_param SCRIPT_FILENAME $document_root$fastcgi_script_name;
        fastcgi_index index.php;
        fastcgi_keep_conn on;
    }

    location ~ /\.ht {
        deny all;
    }

}
Use the docker cp command to copy your SSL configuration file to the Cachet containers nginx configuration directory:
$ docker cp default.conf cachet:/etc/nginx/conf.d/default.conf
Create an SSL directory to store your SSL certificate & key:
$ docker exec -it cachet mkdir /etc/nginx/ssl
Have your SSL certificate and key file ready.
Make sure your certificate file includes any required intermediate certificate(s). If not, concatenate it with your primary certificate into a single pem certificate file, using the following command:
# cat primary_domain.crt intermediate.crt >> your_domain_name.crt
Copy your certificate (your_domain_name.crt) and key (your_domain_name.key) files to the /etc/nginx/ssl directory.
docker cp your_domain_name.crt cachet:/etc/nginx/ssl/your_domain_name.crt
docker cp your_domain_name.key cachet:/etc/nginx/ssl/your_domain_name.key
Reload the nginx service:
docker exec -it cachet service nginx reload
Now go to http://your_domain_name.com and you should be automatically redirected to https://your_domain_name.com.
That's it!
Checkout the documentation for further information on using Cachets features.
Spot any mistakes or have any suggestions? Please do let me know in the comment section.